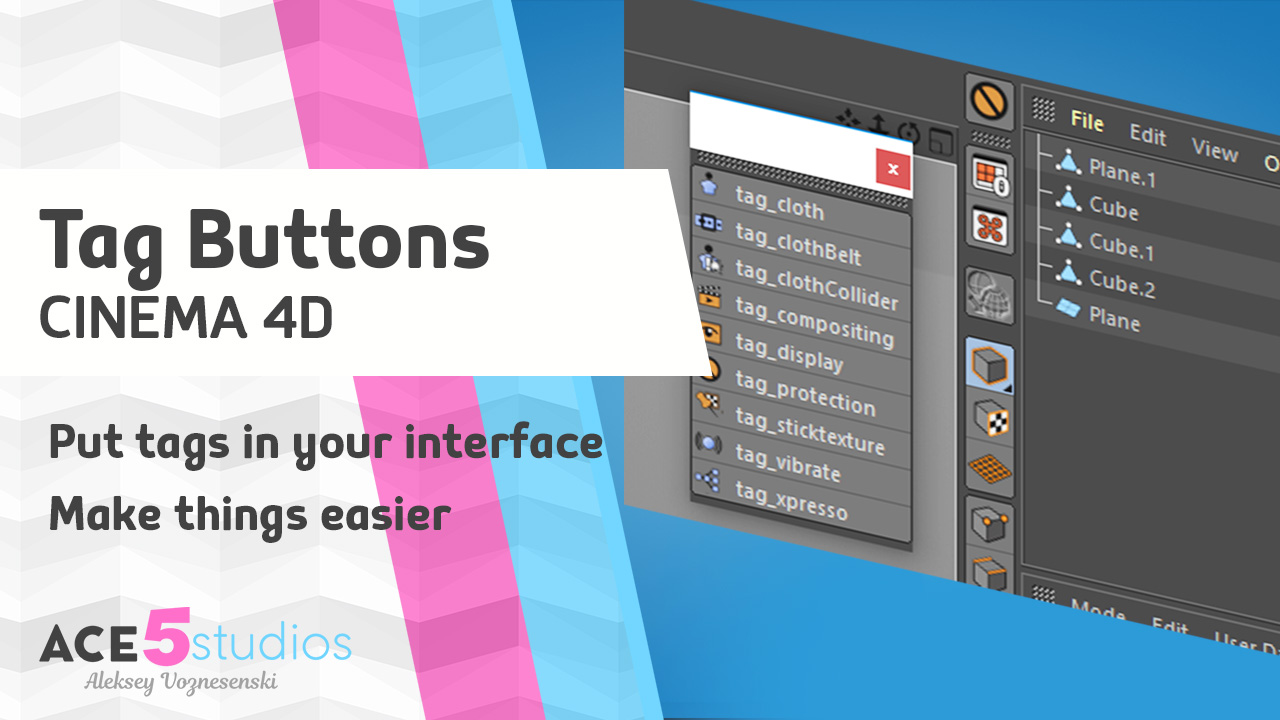
Ever wanted buttons for stuff like Protection tag, cloth or other stuff, well now you can. If you need any other buttons, just let me know and Maria will whip em up for you. ( also show her some support on her instagram page)
Also these scripts will finally allow you to create keyboard shortcuts for these tags. Which can save a lot of time if you apply protection tags regularily.
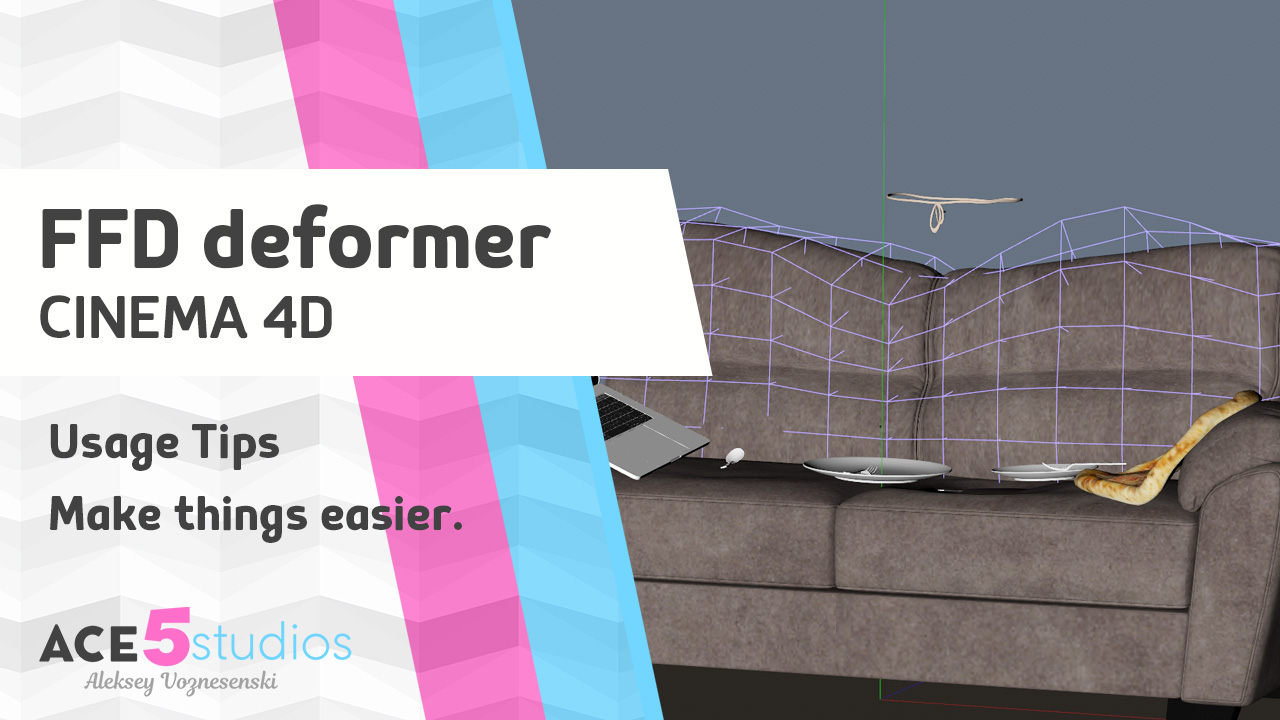
In this tutorial i go over how to more effectively use the FFD tutorial in Cinema 4D. Use a pose morph tag to store states, you can also use the same tag to transfer info between FFD objects
Ever Wonder what the difference between FK and IK is, when rigging this is a pretty common term. I go over the differences here and when you should use which one.
https://ace5studios.com/wp-content/uploads/2018/11/ik-vs-fk-cover-image.jpg7201280aleksey//ace5studios.com/wp-content/uploads/2017/07/Logo-Large.pngaleksey2018-11-25 02:57:172018-11-25 02:57:28IK vs FK – Whats the difference why do you need them?
In this tutorial i go over how to use tokens and relative paths to making saving renders easier than ever.
Why do things by hand, if you can automate it? also great for keeping naming conventions consistent throughout projects and eliminating typo’s.
Some of the more common tokens are:
$prj: Project file name $camera: Current camera name $take: Current take name $pass: Multi-Pass or object channel name (the defined multi-pass names). Primarily to be used as the directory name. $userpass: Multi-Pass or object channel name (the multi-passes renamed via double-click in the Render Settings (opened Multi-Pass tree view). Primarily to be used as a directory name. $frame: Current animation frame $rs: Current Render Setting name $res: Image resolution (e.g., 800*600: 800X600) $range: Animation range (e.g., from frame 23 to 76; 23_76) $fps: Frame rate
With CV-tokens you get some other very useful ones like:
$cvHeight: so you can name your renders based on vertical resolution, so you get “render_720” or “render_1080p” by using “$prj_$cvHeightp” $cvUsername: Also super handy, you can add it to just folder name for example, so you know where the render is coming from, but doesn’t interfere with file naming $mm $ss: For minutes and seconds, so you can save every render without over writing or saving incremental files, great for looking back over your project.
Do you have any questions? Be sure to ask in the comments and i’ll add the answers to this post for everyone to see.
https://ace5studios.com/wp-content/uploads/2018/09/cover-HUD.jpg7201280aleksey//ace5studios.com/wp-content/uploads/2017/07/Logo-Large.pngaleksey2018-11-02 10:48:162018-11-05 01:33:09Tokens – file paths and naming made easy!
Hey Guys, Got a New rig for you, this time it’s the two legged egg thing, thanks to the talented Ugur Ulvi Yetiskin! Make sure to check out his other maya rigs in the link below.
Hint: Bind “reset psr” to an easy shortcut if you haven’t yet 🙂
If you use him and post somewhere make sure to tag him as #TwoLeg4D
Get the Cinema4D rig of TwoLeg here:
Download 2Leg4D
( if you really don’t want to share, or don’t have an account, just close the window that pops up after you click on one of the buttons, and then you can download)
Check out my products page for more free rigs: http://ace5studios.com/products
Also don’t forget to follow me and Maria on twitter for more free rigs!
In this tutorial i cover various elements on the HUD in cinema 4D that you might not be aware of.
HUD is great for seeing important scene information without having to scroll through your object manager, also giving you the ability to adjust these numbers with ease. You will be able to see how many points/faces you have selected, the fps of your current scene, switch quickly between cameras and objects, turn subd object on and off.
Do you have any questions? Be sure to ask in the comments and i’ll add the answers to this post for everyone to see.
In this Cinema 4D tutorial i talk about how to use black and white maps to control various material properties and mograph shaders and displace deformers.
Do you have any questions? Be sure to ask in the comments and i’ll add the answers to this post for everyone to see.
https://ace5studios.com/wp-content/uploads/2018/09/cover-materials-106.jpg7201280aleksey//ace5studios.com/wp-content/uploads/2017/07/Logo-Large.pngaleksey2018-09-11 20:04:382020-08-16 20:22:58Materials 106 – using color to control stuff
Cinema 4D has a great little grass preset that somehow went under the radar. In this quick tutorial i go over how to Make a nice quick grass render, enjoy!
The quick grass preset is located in the menu with the infinite floor object, just click and hold on it and then you can select the grass object. Before clicking on it, you should have a polygon object which you want to cover with grass selected. Then select the grass material in your material manager and just drag the density slider up to make it nice thick.
Next comes the lighting.Firstly create a point light. I have my lights set to have an “inverse square” fall off, which you can change in the details tab. Also i have soft shadows turned on by default. Place the first light on one side of the object and then ctrl drag the light to create a copy and place it on the other side of the object, and move a bit towards the camera, so the shadows are falling slightly towards the back.
That’s it, you can now hit render! You can also open the content browser with shift+f8 and go to the vizualize library and find some plants to scatter on your objects. I use the mograph cloner for this.
Question: How do i make all the plants point vertically up like they do in real life?
We may request cookies to be set on your device. We use cookies to let us know when you visit our websites, how you interact with us, to enrich your user experience, and to customize your relationship with our website.
Click on the different category headings to find out more. You can also change some of your preferences. Note that blocking some types of cookies may impact your experience on our websites and the services we are able to offer.
Essential Website Cookies
These cookies are strictly necessary to provide you with services available through our website and to use some of its features.
Because these cookies are strictly necessary to deliver the website, refusing them will have impact how our site functions. You always can block or delete cookies by changing your browser settings and force blocking all cookies on this website. But this will always prompt you to accept/refuse cookies when revisiting our site.
We fully respect if you want to refuse cookies but to avoid asking you again and again kindly allow us to store a cookie for that. You are free to opt out any time or opt in for other cookies to get a better experience. If you refuse cookies we will remove all set cookies in our domain.
We provide you with a list of stored cookies on your computer in our domain so you can check what we stored. Due to security reasons we are not able to show or modify cookies from other domains. You can check these in your browser security settings.
Google Analytics Cookies
These cookies collect information that is used either in aggregate form to help us understand how our website is being used or how effective our marketing campaigns are, or to help us customize our website and application for you in order to enhance your experience.
If you do not want that we track your visit to our site you can disable tracking in your browser here:
Other external services
We also use different external services like Google Webfonts, Google Maps, and external Video providers. Since these providers may collect personal data like your IP address we allow you to block them here. Please be aware that this might heavily reduce the functionality and appearance of our site. Changes will take effect once you reload the page.
Google Webfont Settings:
Google Map Settings:
Google reCaptcha Settings:
Vimeo and Youtube video embeds:
Other cookies
The following cookies are also needed - You can choose if you want to allow them:
Privacy Policy
You can read about our cookies and privacy settings in detail on our Privacy Policy Page.