A short tutorial discussing shader effector, use of gradients to control displacement, using the colorizer to build alpha maps etc.. width=’16’ height=’9′ av_uid=’av-a27pn’]
This thing clears noise like a boss! Just remember if you are using the gui, don’t have spaces in your folder or file names. width=’16’ height=’9′ av_uid=’av-7ecbi’] Get innobright trial here: //www.innobright.com/ and try it out for yourself.
This article is my personal opinion, this question comes up a lot, so I’m going to try break it down here. I wrote this article quite some time ago, now I’m coming back to update it and I decided to...
Hey! Recently was working on a project. And well I felt like this was a necessary tutorial. I cover using the tracer object, spline point distribution types and using spline IK tag to control more complex splines.
yup, yup, a node material system for cinema4D! super great stuff, get the plugin here: //www.cmstuff.com/article/1012/cmnodes+for+r13 width=’16’ height=’9′ av_uid=’av-8l0i0′]
What is Thea? Thea is a hybrid GPU and CPU renderer with plugins for a bunch of applications. I use cinema4D so that’s the awesomeness im going to cover here. The GPU part (the super fast part) is CUDA based,...
In this tutorial i go over how to use the PSR constraint tag to pick up and place objects. If you have any questions feel free to leave a comment and i’ll try and help. width=’16’ height=’9′ av_uid=’av-8zfrr’] ...
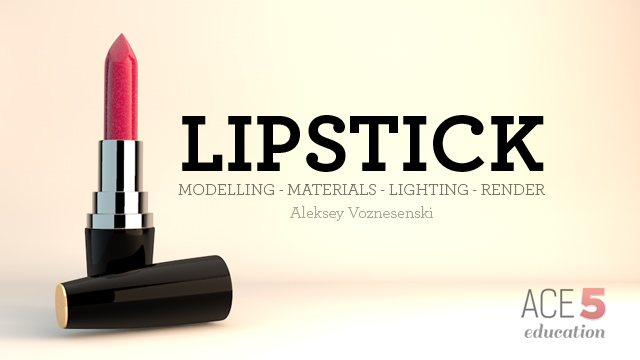
I will take you through the process of Modeling, Texturing, Lighting and Rendering a high poly lipstick container in Cinema 4D. Lessons include, box modeling, understanding Hypernurbs, creating and applying materials, setting up quick preview renders to adjust lighting, and...
Here I will walk you through how to model a low poly tree in Cinema 4D and how to achieve that paper look that is becoming quite popular these days. He’ll then move on and show you how to bake Global...