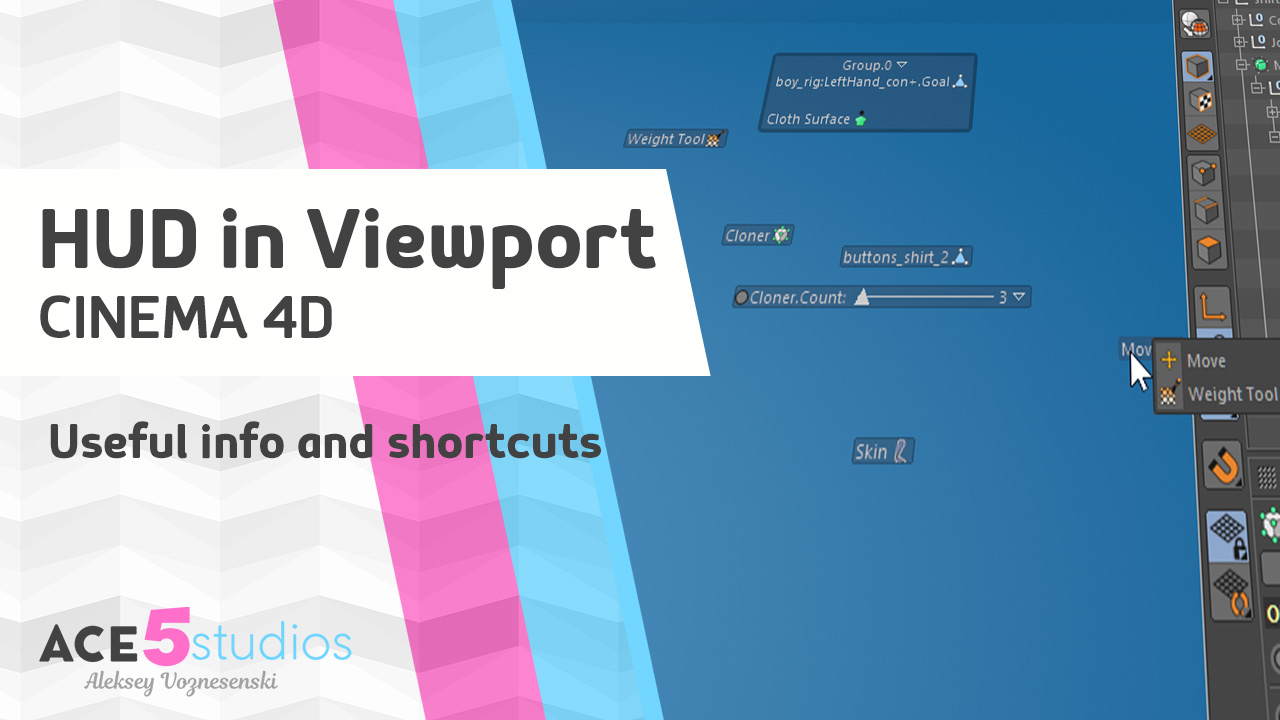
In this tutorial i cover various elements on the HUD in cinema 4D that you might not be aware of. HUD is great for seeing important scene information without having to scroll through your object manager, also giving you the...
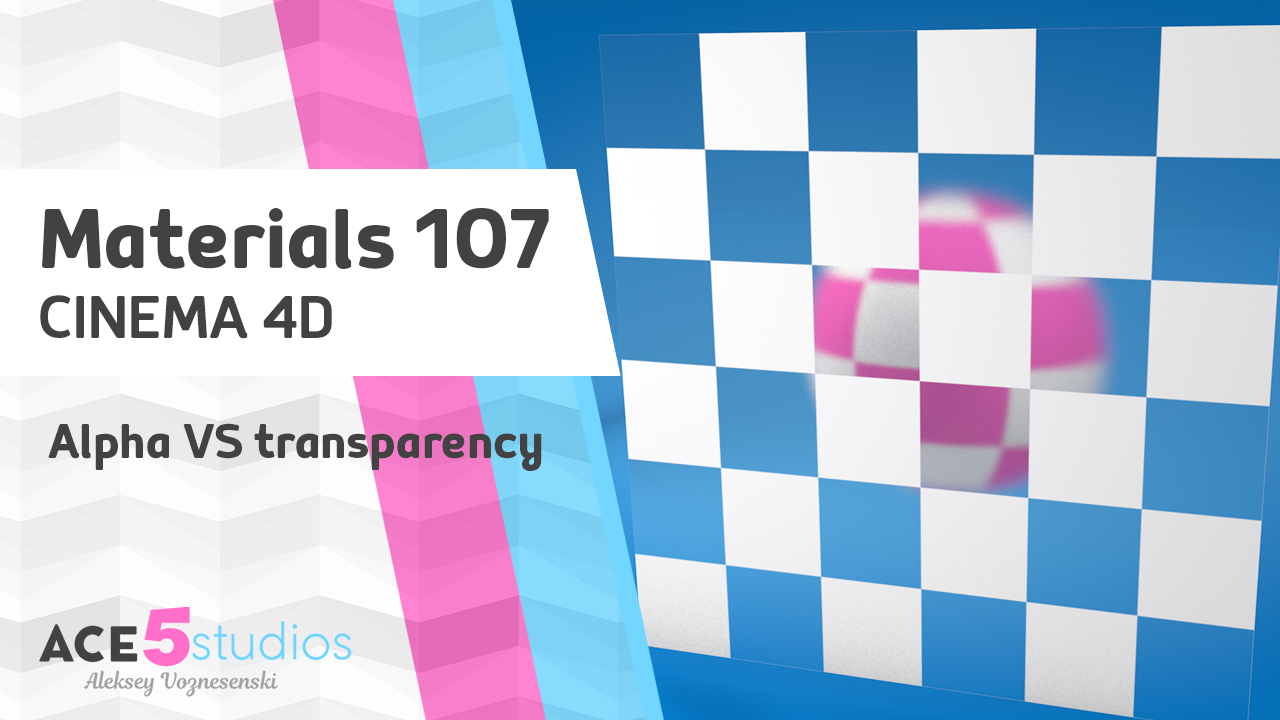
In this tutorial i go over the different between the alpha and transparency option in Cinema 4D materials Do you have any questions? Be sure to ask in the comments and i’ll add the answers to this post for everyone...
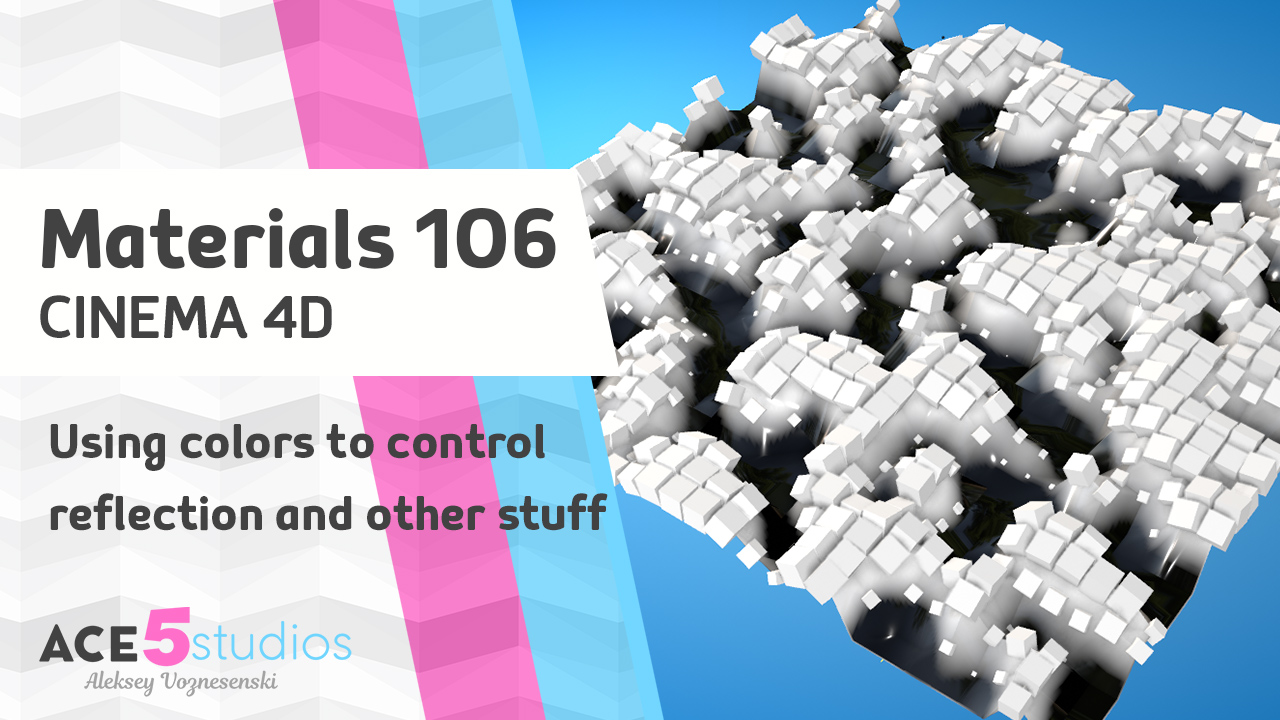
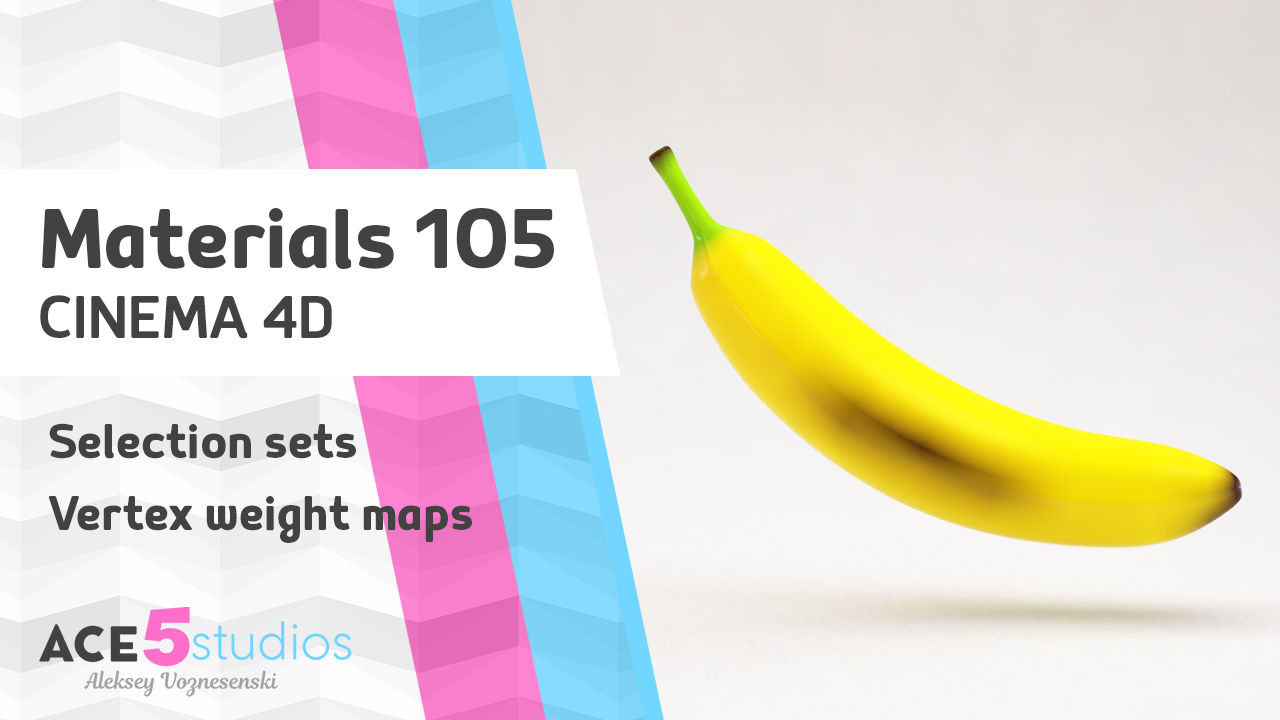
In this Cinema 4D tutorial i talk about how to use black and white maps to control various material properties and mograph shaders and displace deformers. Do you have any questions? Be sure to ask in the comments and i’ll...
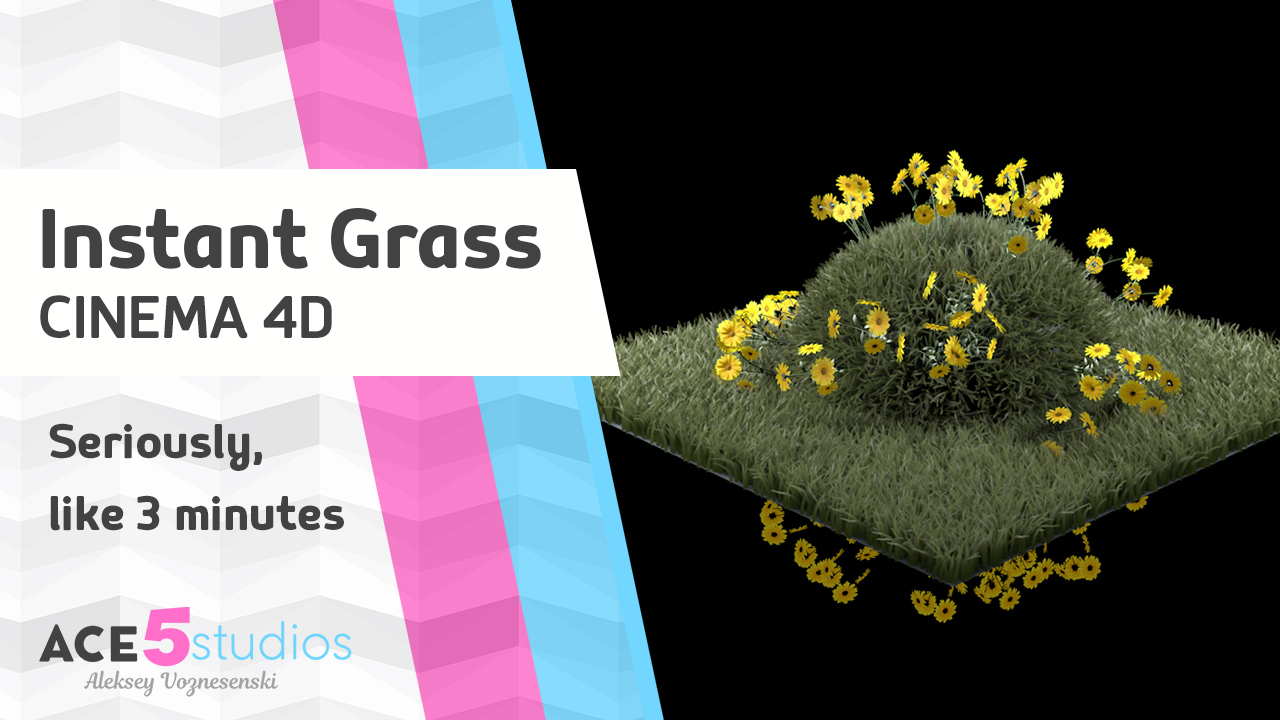
Cinema 4D has a great little grass preset that somehow went under the radar. In this quick tutorial i go over how to Make a nice quick grass render, enjoy! The quick grass preset is located in the menu...
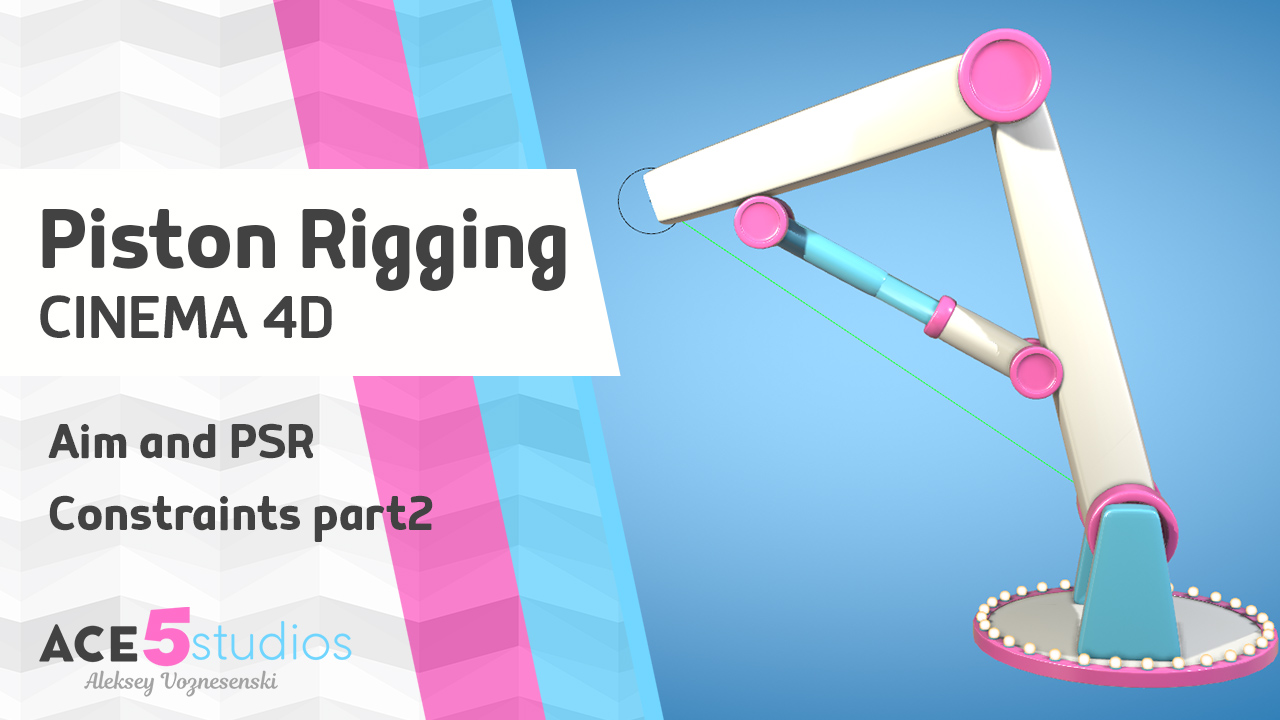
Set up and rig a hydraulic piston in Cinema 4D Check out my up-vectors tutorial about the canon here: https://ace5studios.com/upvectors/ Don’t forget to check out my rigged stock characters: //ace5studios.com/5j
In this tutorial i cover how to apply different shaders to different parts of the model. Check out my glass render tutorial here: //ace5studios.com/glass and the progressive render stuff at: //ace5studios.com/progressive-rendering-and-render-settings/ rigged stock characters: //ace5studios.com/5j See whole materials series: https://ace5studios.com/tag/materials/
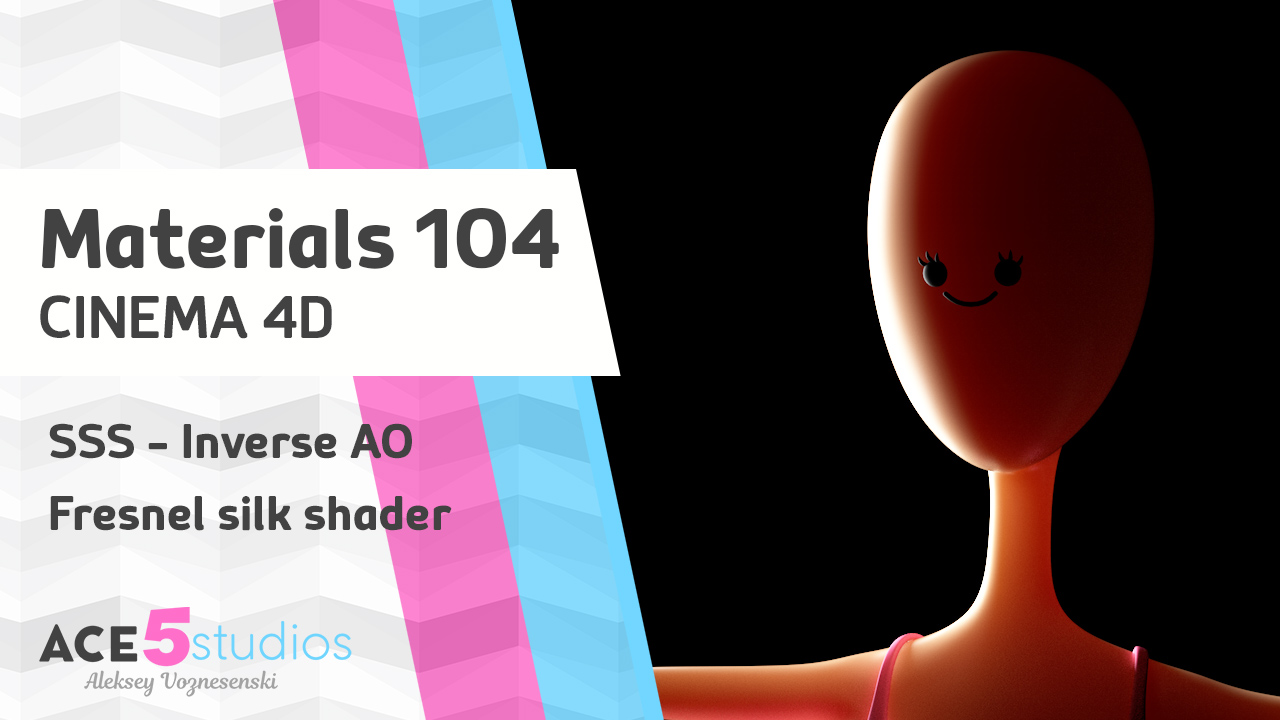
Here i cover how to use Sub surface scattering to get a softern skin effect. Also cover using Inverse AO as an alternative and using fresnel in both hair and silk materials. Check out my glass render tutorial here: //ace5studios.com/glass...
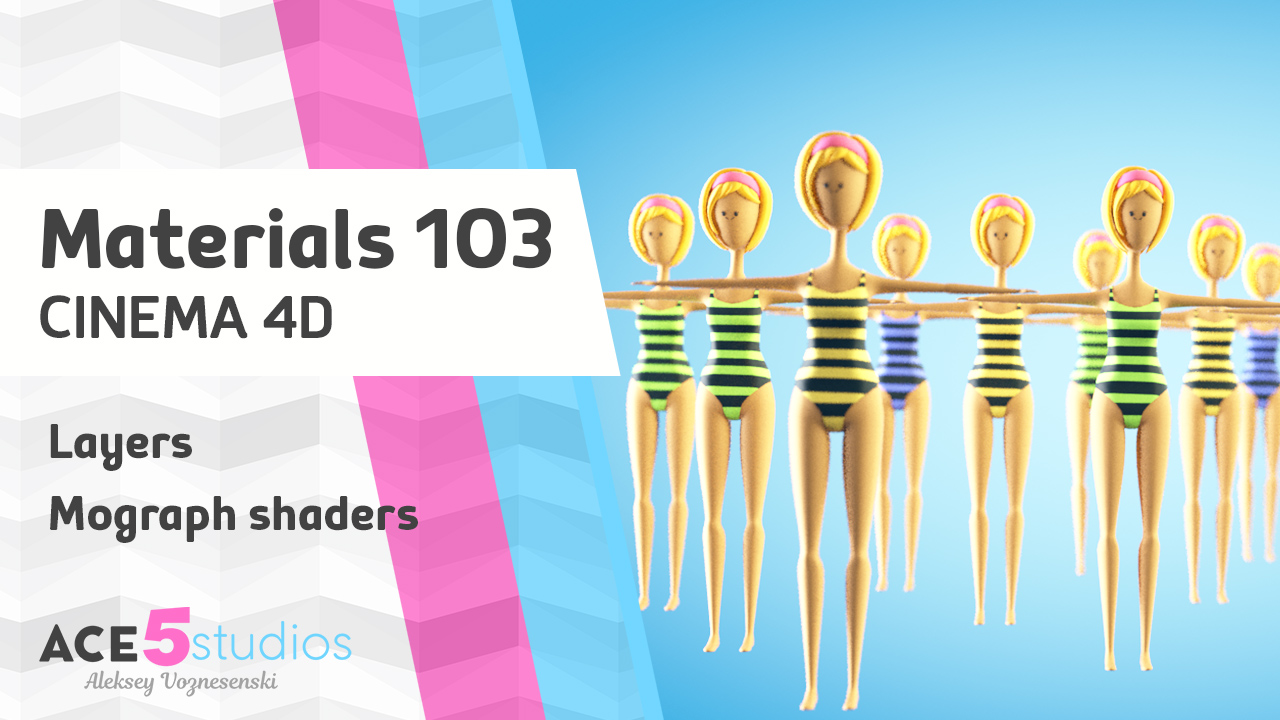
Here i go over some more practical uses of the layer shader and mograph shaders. Check out my glass render tutorial here: //ace5studios.com/glass and the progressive render stuff at: //ace5studios.com/progressive-rendering-and-render-settings/ See whole materials series: https://ace5studios.com/tag/materials/
R20 has been announced and these are the things i love about it. Points get deleted, export to alembic cache is now a right click affair, making cheese is easier than ever. meshing stuff together while sculpting is also pretty...